You are viewing an old version of this page. Return to the latest version.
Difference between revisions of "Manual:Semantic MediaWiki/Examples/Customer data/Template"
< Manual:Semantic MediaWiki | Examples | Customer dataReturn to history page
← Manual:Semantic MediaWiki/Examples/Customer data/Template
← Manual:Semantic MediaWiki/Examples/Customer data/Template
| [unchecked revision] | [quality revision] |
(Created page with "{{DISPLAYTITLE:Create a template}} <div class="steps"> ==Create the display template== To create the template, we go to the page ''Special:Create template''. On this page, we...") (Tag: 2017 source edit) |
(Tag: 2017 source edit) |
Contents
Create Creating the display template[edit | edit source]
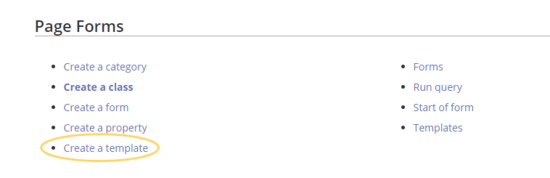
To create the template, we go to the page Special:Create template. On this page, we have access to the properties that we have already created.
-
Like in the previous step (creating properties), switch to the Page Forms section on the page Special:SpecialPages.
-
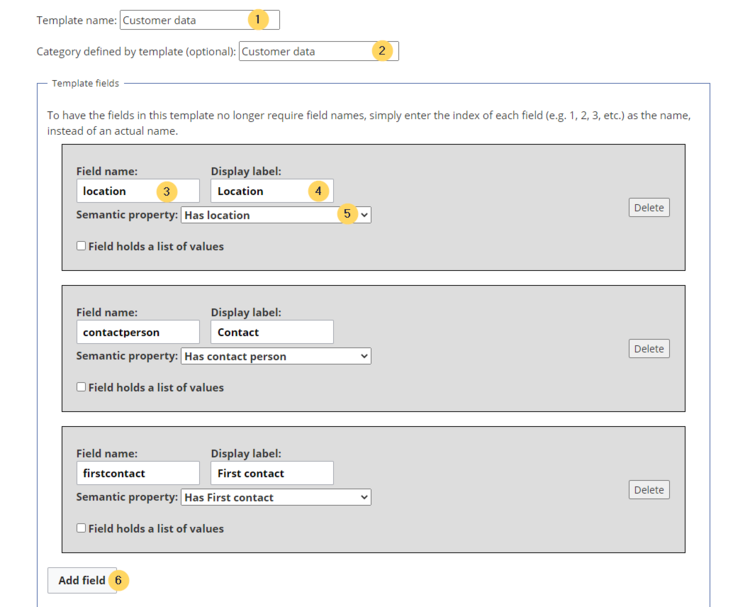
Define the data fields that you want to use in your template. For each property that you created, you need to have a field in the template.
- Template name (1): Enter Customer data as name for the template.
- Category (2): Define a category which will be assigned to all customer pages that use this template. It makes sense to also call this category Customer data.
- Field name (3): Create a field name for the property Has location. This field name will later be used to connect the template with the data entry form. The name should not contain spaces.
- Display label (4): This is the field label tha tis shown on the customer pages. It can contain spaces.
- Semantic property (5): Choose the property Has location that you created in the previous step.
- Add field (6): Click Add field to create the fields for the properties Has First contact and Has contact person.
- Click Save page at the end of the page Seite speichern.
The template is now available and can be viewed in the Template namespace. You do not have to edit the template any further at this point.
Include Including the template on a page[edit | edit source]
-
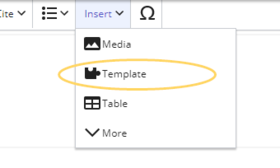
To include the template on a customer page, you simply add it from the Visual Editor Insert menu.
-
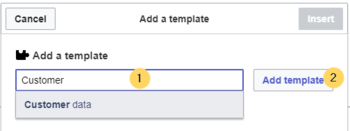
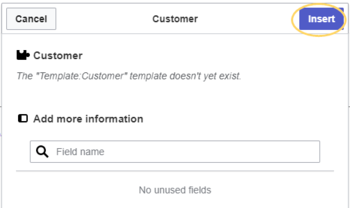
Start typing the name Customer data and select the template (1). Then, click Add template (2).
-
Click Insert.
-
Save the page. The template is now included on the page.

Next step[edit | edit source]
Next, we create a form that makes it easy for users to enter the data.