Test System local with Installer
-
- Last edited 8 years ago by Richard Heigl
-
-
- No status information
This document describes the steps for the installation of MediaWiki 1.27.1 and BlueSpice 2.27.1 with installer.
Introduction
BlueSpice is wiki software.
BlueSpice is used worldwide as a platform for collaborative knowledge management, as a knowledge base in customer support and as an uncomplicated tool for documentation and handbooks.
BlueSpice is mostly used as:
- a central company wiki,
- a technical documentation platform,
- a quality handbook,
- knowledge management platform,
- documentation tool for research and development.
Add user-friendly extensions to MediaWiki and make your administrators’ lives easier.
Some central features of BlueSpice are:
- You don't must have any knowledge of wiki code. You can edit texts, categories, pictures and files.
- If you search something that can be sorted or filtered by category, namespace, author, data type, any attached files etc.
- You can manage users, namespaces, groups, rights and settings (you can add, change, delete).
- Quality assurance and review tools (workflow tool, reminder e.a.): Pages for instance can be assigned to a reviewer. This allows articles to be reviewed and approved.
- Meta data and semantic: analyze and work with meta data.
Step one: Install XAMPP
To install BlueSpice with installer you should have:
- Webserver,
- Php,
- MySQL.
XAMPP contains all three.
Take notice that XAMPP should only be used for testing.
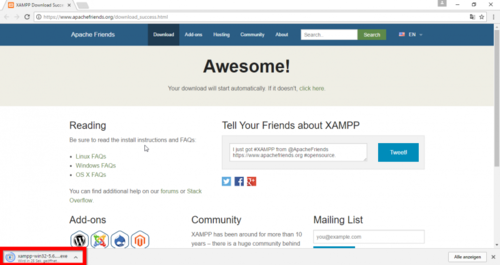
To download and install XAMPP click here .
Download will appear as small notification in down, left corner. Red marked on this image bellow:
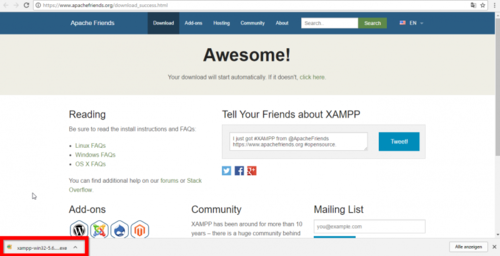
When download is finish you will have notification in the corner, marked red as on image bellow:
Some browsers will ask you where you want to save download. In case of Google Chrome your download will be in: C:\Users\Downloads
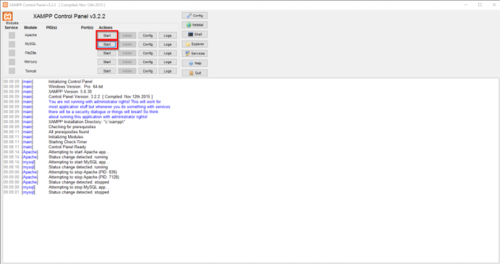
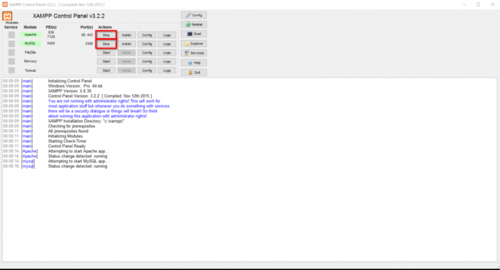
When you install XAMPP, you should start Apache and MySql so that they appear green like in this image:
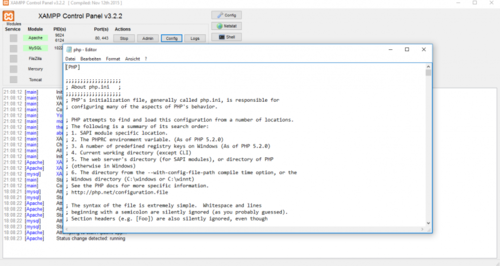
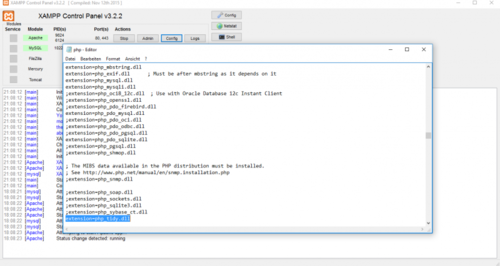
In XAMPP by Apache click button Config. Click on PHP(php.ini). You should get:
Find tidy, and delete Semicolon ( ; ) in front of the ;extension=php_tidy.dll
Should look like this:
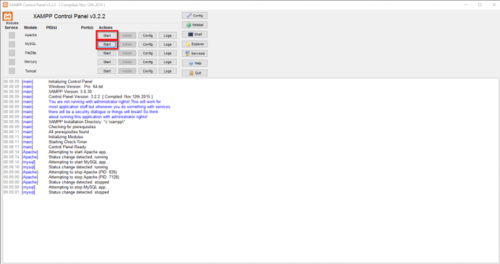
After this stop and start your xampp again, like on the images below:
Step two: Install BlueSpice
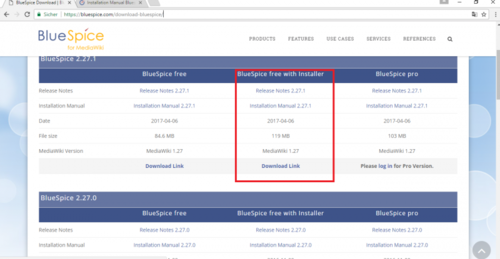
Now, when we have XAMPP, download BlueSpice here. Download version with intaller red marked as you see bellow:
Download and unzip BlueSpice.
To unzip file use: 7-zip, winzip, izarc.
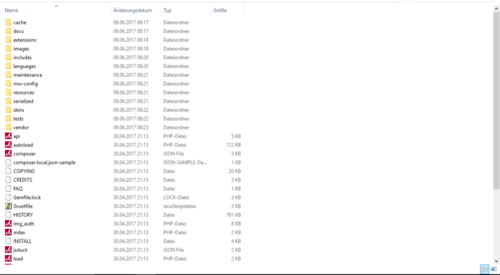
When unzip is completed, you should get this:
Create a new folder in C:\xampp\htdocs . You can choose a whatever name you like, but it should contain only lettets, numbers, underscore or dash. Name of this folder will be refered to as {name} in later text. Copy the files from unziped folder (seen on the image above) to this newly created folder.
In some cases you might be asked: Do you want to merge? Answer Yes.
In C:\xampp\htdocs\{name}find folder: extensions in that folder you will find folder: BlueSpiceFoundation in there you will see: data.template . Rename it to data
'Rename: right click and on combo/dropdown list and click 'Rename.
Do the same for config.template . Rename it to config
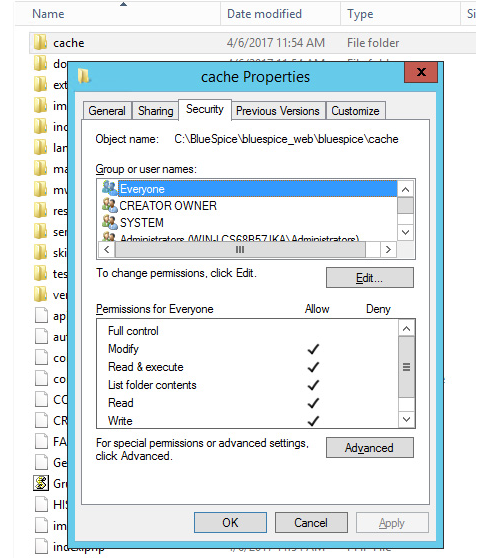
Find folder cache in your {name} folder , right click, Properties and Security. Check if Everyone have permissions like in the image below. If not: go to edit, add, Everyone and ok.
Do the same for folder images .
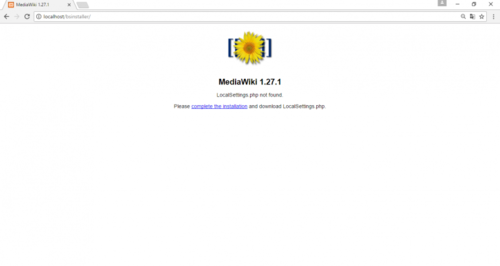
To check if all is ok, type in the browser: http://localhost/{name}
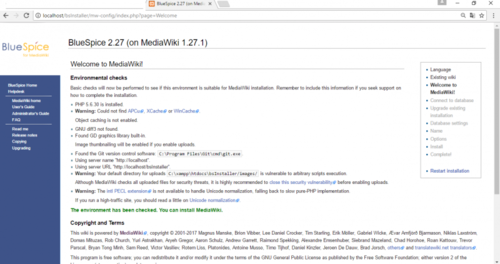
You should get:
Continue by clicking complete the installation .
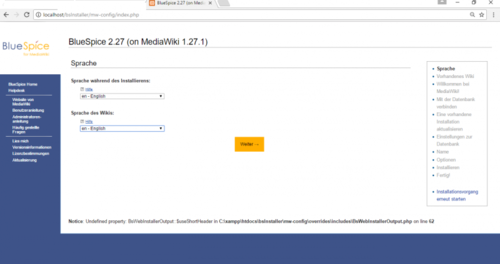
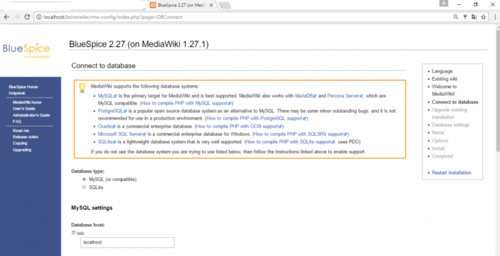
You should get:
Select language and Continue.
You should get:
Again Continue.
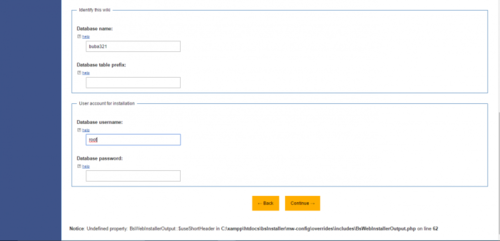
You should get:
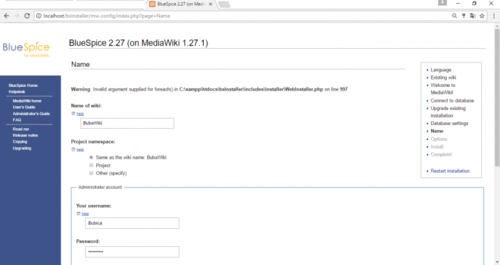
Change database name as you want, do not type password. And Continue.
Continue.
Type your name, password, an e-mail address and Continue
On next page click on Continue.
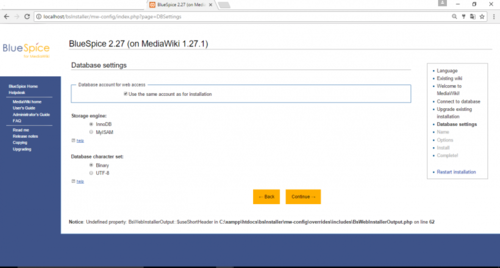
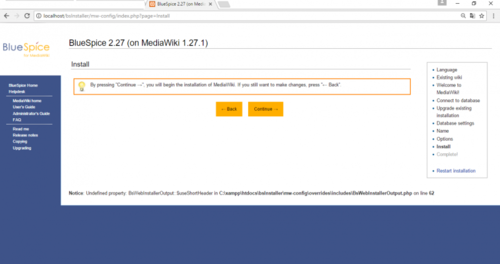
You should get:
Continue.
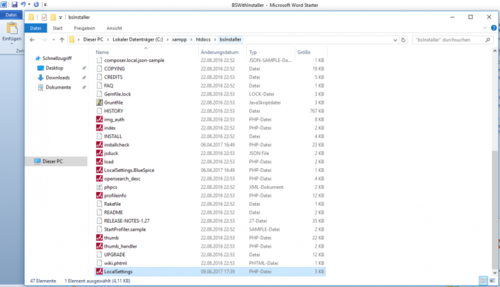
File LocalSetings.php will be downloaded
Copy it to the folder {name}.
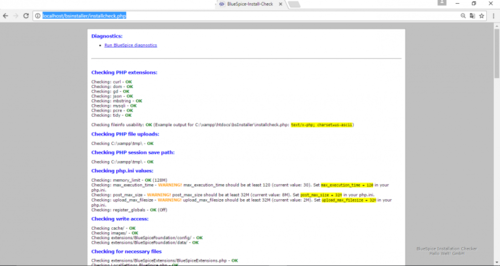
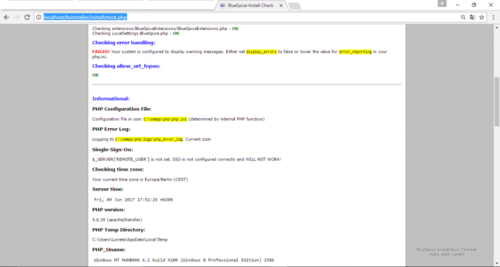
Open your browser and type: http://localhost/name/installcheck.php
You should get:
You should pay attention to red marked warnings, and fix them if there are any. In case only warning you get is Checking error handling, you can ignore it.
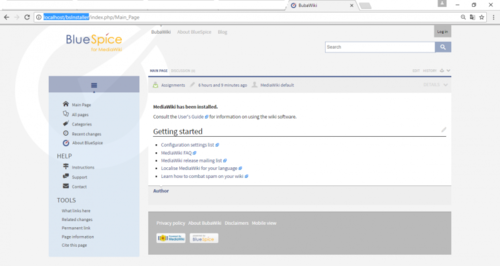
Now open new browser tab and type: http://localhost/{name}
You should get:
You have successfuly installed BlueSpice!
