Apache Tomcat
-
- Last edited 7 years ago by WikiSysop
-
Contents
This document describes the configuration of the Apache Tomcat server, which is needed for the Webservices of BlueSpice.
Notes
- Please, read this manual completely and work through the single installation steps one after another.
- For editing the configuration files with a text editor, the files must be saved in UTF-8 coding without BOM (Byte Order Mark).
- The placeholder
<installpath-bluespice>stands for the path to your BlueSpice installation, e.gC:\inetpub\wwwroot\bluespice(Windows regarding the documentation "Folder structure under Windows") or/var/www/bluespice(Linux). - The placeholder
<tomcat-webappsstands for the path to the webapps directory of your Tomcat server, e.gC:\Program Files\Apache Software Foundation\Tomcat 8.5\webapps(Windows) or/var/lib/tomcat8/webapps(Linux).
Installation
Linux
Install the latest version of the Apache Tomcat server in the package manager of your distribution. The package manager dissolves all dependencies and installs the required packages.
Windows
Java
Apache Tomcat requires the Java Runtime Environment. If these is not already installed at your system, download (www.java.com) and install it. We recommend the 64 bit version for latest systems.
Tomcat
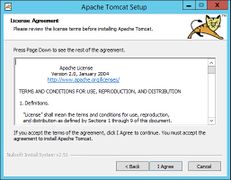
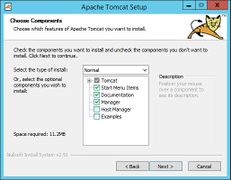
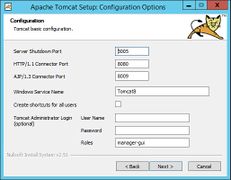
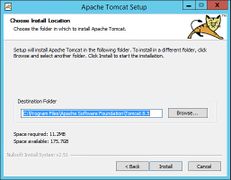
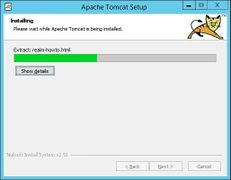
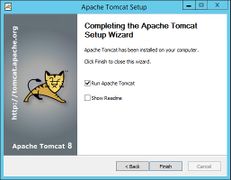
Download the "32-bit/64-bit Windows Service Installer" from the Tomcat project website. No modifications are necessary during the installation process. Confirm the single steps with "Next".
Installation Check
If the Apache Tomcat server has been installed and started correcly can be checked by calling up http://<host name-or-ip-of-the-server>:8080. With a correct installation, the default page of the server will be displayed.
Configuration
Now, two configuration files of the Tomcat server need to be adjusted:
- context.xml
- server.xml
Those can - per default - be found at:
- with Windows: C:\Program Files\Apache Software Foundation\Tomcat 8.5\conf
- with Linux: /etc/tomcatX (the "X" stands for the particular Tomcat version)
context.xml
Replace the line
<Context>
with
<Context mapperContextRootRedirectEnabled="true">
server.xml
Please make sure that the complete block
<Connector port="8080" protocol="HTTP/1.1"
	... />
is as follows:
<Connector port="8080" protocol="HTTP/1.1"
	connectionTimeout="20000"
	URIEncoding="UTF-8"
	redirectPort="8443"
	address="127.0.0.1" />
Restart Tomcat
Restart the Tomcat server:
- Linux: service tomcatX restart (the "X" stands for the particular Tomcat version)
- Windows: See below: Restart Tomcat
Special features under Windows
Configure Tomcat
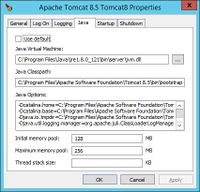
All of the following settings need to be done in the configuration interface of Tomcat. These can be found in the start menu under "Configure Tomcat".
Restart Tomcat
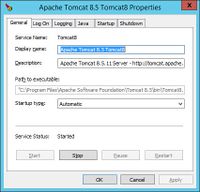
The restart can be performed in the first tab of the configuration interface. Stop and then start the service there.
Setup Autostart
Tomcat will not automatically be started with Windows. This needs to be configured in the first tab, where you also start the service. Switch to "Automatic" under "Startup type" and save this changes with a click on "Apply".
Particular Caution: Java Update
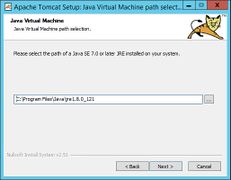
Tomcat requires Java. The path for this is firmly defined in Tomcat. Java, however, changes the installation path with every update. Those needs to be configured in Tomcat after every update to guarantee the functionality of Tomcat.
To do this, switch to the tab "Java" and change the path to jvm.dll under "Java Virtual Machine" - normally this isC:\Program Files\Java\>\bin\server\jvm.dll.
