Difference between revisions of "Setup:Installation Guide/System Preparation/Windows/Parsoid"
← Setup:Installation Guide/System Preparation/Windows/Parsoid
| [quality revision] | [quality revision] |
m (translation is aligned with current DE version) (Tag: 2017 source edit) |
Fbaeckmann (talk | contribs) (Tag: 2017 source edit) |
Contents
|
|
Parsoid is the rendering service for the Visual Editor. The steps listed here are optional and only required if you want to use Visual Editor in your BlueSpice installation. |

|
For the installation and operation of Parsoid, Git and Node.js are required. If you have not installed them yet, follow the links that are provided here. |
Installing Parsoid[edit | edit source]
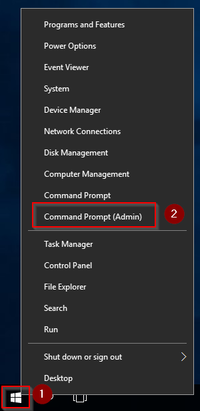
First, open the Windows Command Prompt as administrator. To do this, right-click "Start" (1) and select "Command Prompt (Administrator)" (2):
Change into the directory C:\bluespice\bin\npm (1) execute the command "npm install parsoid" (2):
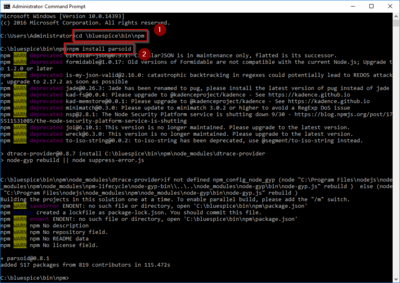
Keep the command prompt open and complete the following step
Creating the configuration file[edit | edit source]
In the BlueSpice codebase you will find two files in the folder extensions/BlueSpiceVisualEditorConnector/docs/parsoid:
- config.yaml
- localsettings.js
Copy them into the folder C:\bluespice\bin\npm\node_modules\parsoid\.
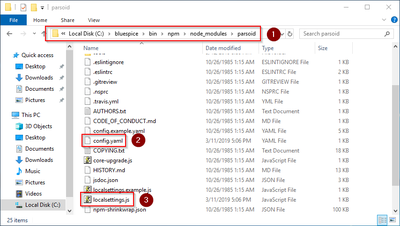
This provides an already finished configuration of Parsoid, which should work in the standard setup without further iadjustments.
Parsoid installation and configuration check[edit | edit source]
To test the installation and configuration, go back to the command prompt.
Change into the directory C:\bluespice\bin\npm\node_modules\parsoid (1) and start the service with the command "node bin\server.js" (2):
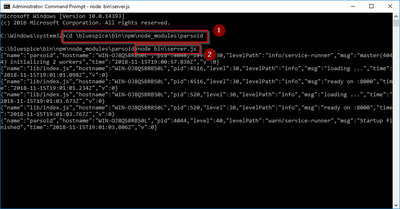
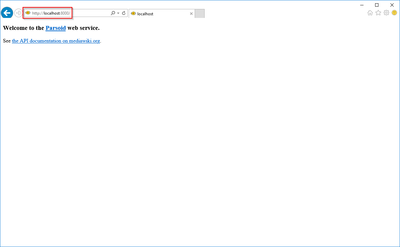
The service should now start without an error message. For further review, call the URL "http://localhost: 8000" in Internet Explorer. You should see the following page:
Change back to the command prompt and quit Parsoid by pressing "Ctrl+C". Keep the command prompt open and go to the next step.
Installation as a service[edit | edit source]
To run Parsoid in the background in the future, you need to install Parsoid in a Windows service. To do this, proceed as follows:
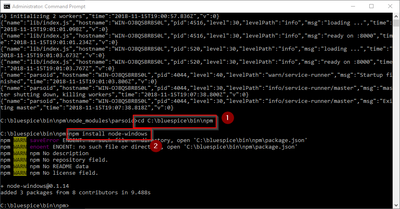
In the command prompt, change to the directory "C:\bluespice\bin\npm" (1) and execute the command "npm install node-windows" (2):
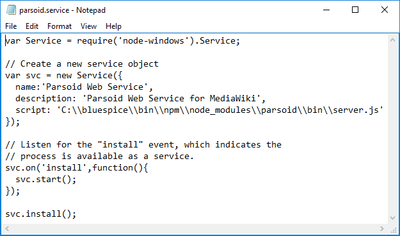
Using a text editor, create the file "C:\bluespice\bin\npm\node_modules\parsoid\ parsoid.service" with the help of this linked content:
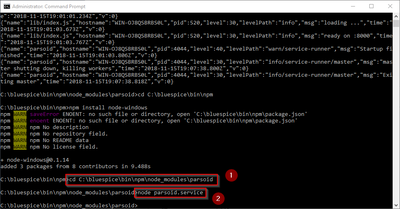
In the command prompt, change into the directory "C:\bluespice\bin\npm\node_modules\ parsoid" (1) and execute the command "node parsoid.service" (2):
You can now close the command prompt.
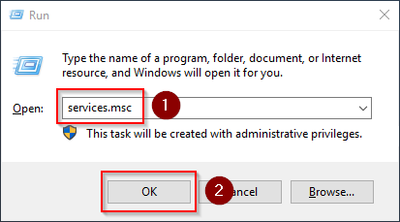
Then enter the key combination Windows+R.
In the following dialog box, enter "services.msc" (1) and confirm with "OK" (2):
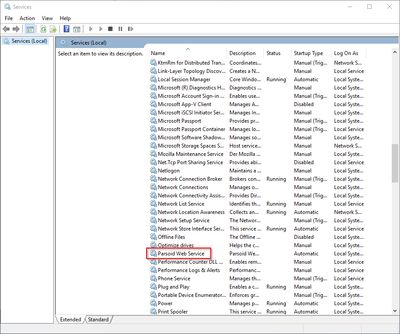
Find the service "Parsoid Web Service" and open it with a double-click:
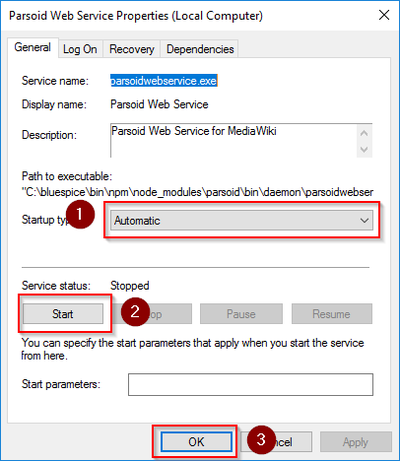
Select the startup type "Automatic" (1) and start the service (2). After the service is started, close the window with "OK" (3):
In Internet Explorer, check the URL "http://localhost:8000", as already explained in the previous step, whether the Parsoid service started successfully.
Next step[edit | edit source]
If you have completed all steps successfully, you can proceed to the next step " Python".