Difference between revisions of "Manual:Extension/FlexiSkin"
| [quality revision] | [quality revision] |
(Changed categories.) |
(Tag: Visual edit) |
Contents
- 1 What is FlexiSkin? 2
- Where to find Flexiskin
- FlexiSkin?
- 2 Logo and Favicon
- 3 Activating a skin
- 4 Delete a skin
- 5 See also
FlexiSkin allows you to customize the skin of your wiki. Change You can change the design of your wiki via the backend a Special page and with a preview function. Choose between different colours, Easily insert your own logo and decide if favicon and define the colors and font settings you want to have the navigation at the left or right side. achieve a custom look.
Important! FlexiSkin is only available in BlueSpice pro Cloud.
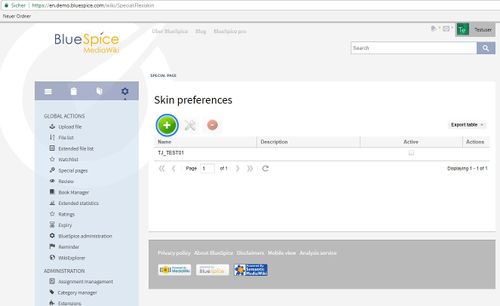
Where to find FlexiskinFlexiSkin?[edit | edit source]
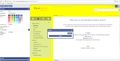
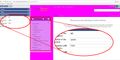
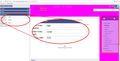
Flexiskin is a special page. The most common way to open the Flexiskin is by clicking on "Skin" at the admin navigation.
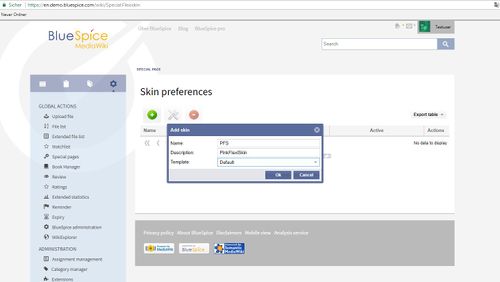
By clicking on "Skin" you will be taken to dialogue where you can add a new skin:
Enter title and description of the new skin. You can also choose a related template at the dropdown and click on "Ok" to create the new skin.
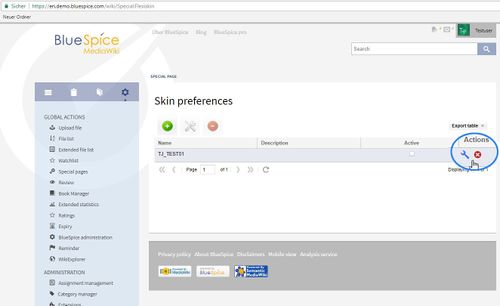
The FlexiSkin settings can be adjusted on the page Special:FlexiSkin (- watch the spelling as the wiki is case-sensitive).
Logo and Favicon[edit | edit source]
Logo[edit | edit source]
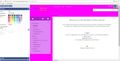
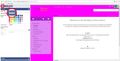
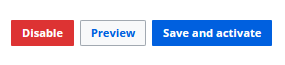
On the left hand side you will find the edit functionalities on the right hand side there is a preview. Don't forget to click the "Save" button at the top of the editor area.
-
General
-
Save
Attention: The Reset button only resets the last set value.
To close the skin editor click on "close". Please confirm to the pop-up to really close the editor.
Skin changes[edit | edit source]
- You can also insert an image as background image.
-
Upload new image
-
Upload
Upload the image you want to have in the background and specify if you want to have repeats (no repeat, horizontal, vertical repeat).
-
Background Image No Repeat
-
Background Image Horizontal Repeat
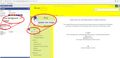
- Header/Logo: At the bottom of the editor on the left you will find "Header". Here you can upload an individual logo. To see changes in the preview please click on "save" at the top.
-
Without Logo
-
With Logo
-
Position and size: Choose wether the navigation shall appear left or right next to the content. Position means that you can display the content left, center or right in the browser. You can also change the complete width.
Default for the skin is navigation on the left, content in the middle and width 1000px.
-
Left
-
Right
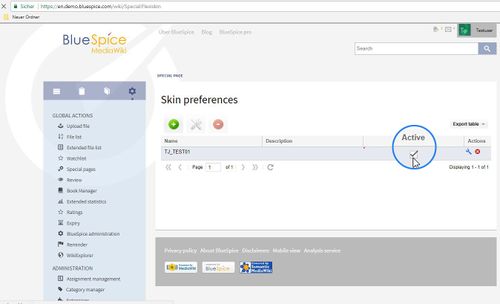
Activating a skin[edit | edit source]
To finally activate a new skin please select the skin at the overview of skins on the special page by clicking on it.
Delete a skin[edit | edit source]
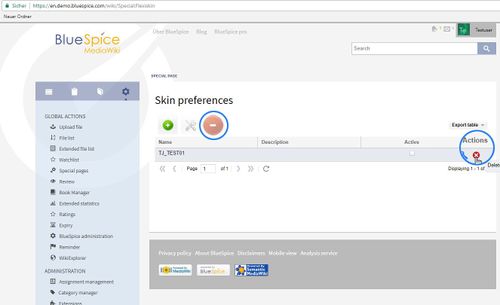
You want to delete a skin completely? Mark the skin in the overview and click on the "remove" symbol. Please confirm that you want to remove the skin. Or you can use "delete" symbol. Please confirm that you want to delete the skin.
See also[edit | edit source]
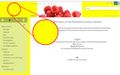
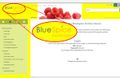
Our reference pageThe fastest way to customize your wiki is to simply upload your own logo. The wiki will automatically fit the image into the top bar.
Note: The maximum dimensions for the logo are 300 x 64 pixels. If you upload a larger image, it will be cut off.
To upload your logo:
-
Click Select a file to choose a file from your file explorer or drag the file into the dotted area of the Logo upload area.
-
Click Preview to see the positioning of your logo.
-
Check the logo preview in your wiki.
-
To upload a different logo, click the x-icon in the logo upload area and repeat the previous steps.
- Save and activate the logo or continue with theming your wiki.
Tips for working with the logo[edit | edit source]
- Alignment: The logo is placed at the left side of the top bar without any padding or margin applied. The easiest way to make your logo fit: Put it on a 300 x 64 pixel canvas in an image editor and position the actual logo with the desired padding within that area. Then upload your logo.