Difference between revisions of "Manual:Extension/FlexiSkin"
| [unchecked revision] | [quality revision] |
(Created page with "__HIDETITLE__ <bs:bookshelf src="Book:User manual" /> __TOC__ ==What is FlexiSkin?== '''FlexiSkin''' allows you to customize the skin of your wiki. Change the design of yo...") |
(Tag: Visual edit) |
Contents
FlexiSkin
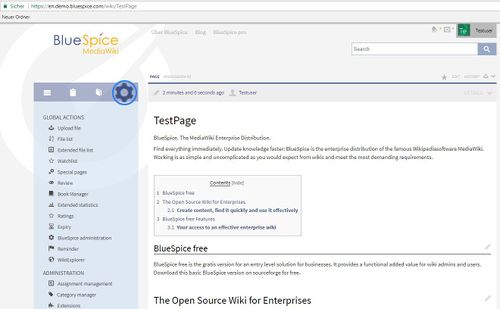
?FlexiSkin allows you to customize the skin look and feel of your wiki. Change You can change the design of your wiki via the backend a Special page and with a preview function. Choose between different colours, Easily insert your own logo and decide if favicon and define the colors and font settings you want to have the navigation at the left or right side.
Where to find Flexiskin?achieve a custom look.
Important! FlexiSkin is only available in BlueSpice pro Cloud. To upload the logo in BlueSpice 3, follow the instructions for the Config Manager.
Contents
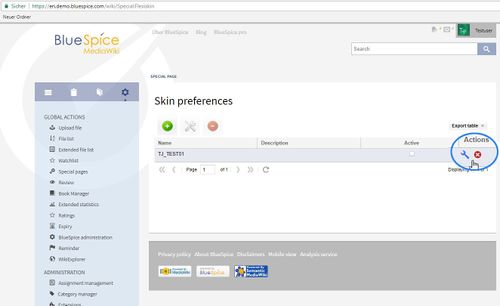
Where to find FlexiSkin?[edit | edit source]
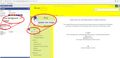
Flexiskin is a special page. The most common way to open the Flexiskin is by clicking on "Skin" at the admin navigation.
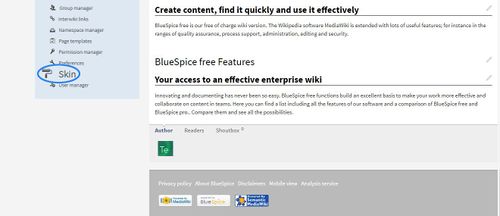
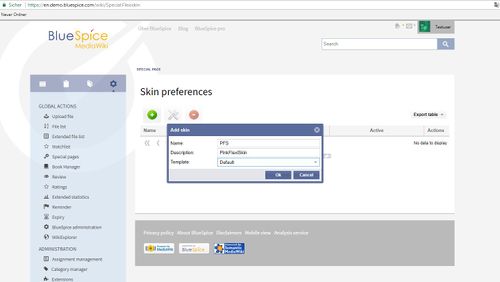
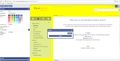
By clicking on "Skin" you will be taken to dialogue where you can add a new skin:
Enter title and description of the new skin. You can also choose a related template at the dropdown and click on "Ok" to create the new skin.
The FlexiSkin settings can be adjusted on the page Special:FlexiSkin (- watch the spelling as the wiki is case-sensitive).
Logo and Favicon[edit | edit source]
Logo[edit | edit source]
The fastest way to customize your wiki is to simply upload your own logo.
To upload your logo:
-
Click Select a file to choose a file from your file explorer or drag the file into the dotted area of the Logo upload area.
-
Click Preview to see the positioning of your logo.
-
Check the logo preview in your wiki.
-
To upload a different logo, click the x-icon in the logo upload area and repeat the previous steps.
-
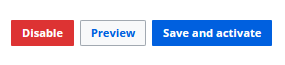
Save and activate the logo or continue with theming your wiki.
- Click OK to acknowledge that the changes are applied immediately and affect all wiki users.
Tips for working with the logo[edit | edit source]
On the left hand side you will find the edit functionalities on the right hand side there is a preview. Don't forget to click the "Save" button at the top of the editor area.
-
General
-
Save
Attention: The Reset button only resets the last set value.
To close the skin editor click on "close". Please confirm to the pop-up to really close the editor.
Skin changes[edit | edit source]
- You can also insert an image as background image.
-
Upload new image
-
Upload
Upload the image you want to have in the background and specify if you want to have repeats (no repeat, horizontal, vertical repeat).
-
Background Image No Repeat
-
Background Image Horizontal Repeat
- Header/Logo: At the bottom of the editor on the left you will find "Header". Here you can upload an individual logo. To see changes in the preview please click on "save" at the top.
-
No Logo
-
Logo
-
Position and size: Choose wether the navigation shall appear left or right next to the content. Position means that you can display the content left, center or right in the browser. You can also change the complete width.
Default for the skin is navigation on the left, content in the middle and width 1000px.
-
Left
-
Right
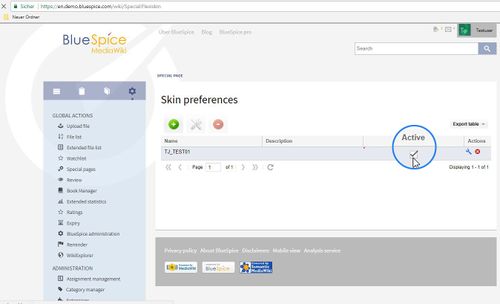
Activating a skin[edit | edit source]
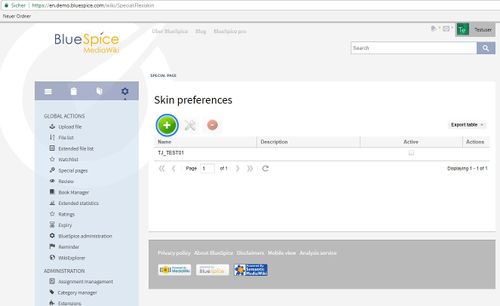
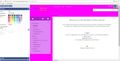
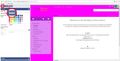
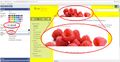
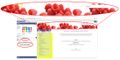
To finally activate a new skin please select the skin at the overview of skins on the special page by clicking on it.
Samples:
-
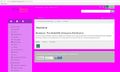
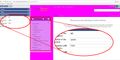
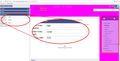
PinkSkin
-
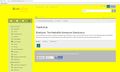
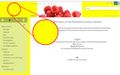
YellowSkin
-
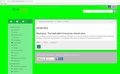
GreenSkin
-
Background Image NoRepeat
-

Background Image HorizontalRepeat
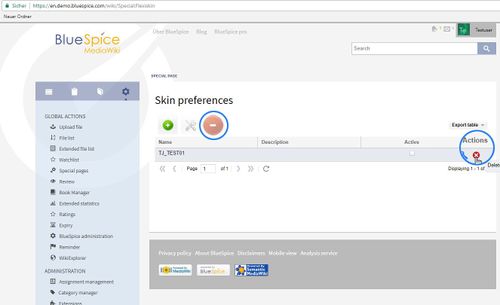
Delete a skin[edit | edit source]
You want to delete a skin completely? Mark the skin in the overview and click on the "remove" symbol. Please confirm that you want to remove the skin. Or you can use "delete" symbol. Please confirm that you want to delete the skin.
                    .bs-logo a {
		background-position: 0 center;
	}
Note: You first have to save the page to view the logo changes made in Free Css. The preview does not reflect these changes.
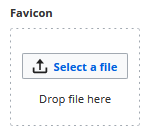
Favicon[edit | edit source]
You can also upload your own favicon. The favicon is the image that is shown in the browser tabs. Follow the steps for uploading a logo, just use the favicon upload area instead.
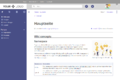
-
- After saving the page, you will see your custom image in the browser tabs of your wiki pages.

Theming[edit | edit source]
Color presets[edit | edit source]
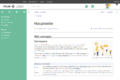
The fastest way to customize your wiki colors is to pick a color preset from the available themes. You can fine-tune each theme as needed if one or another color requires tweaking.
The available standard themes are shown here.
-
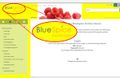
bluespice
-
turquoise
-
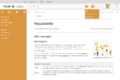
orange
-
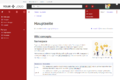
crimson
-
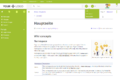
lime
-
turquoise dark
-
sunflower dark
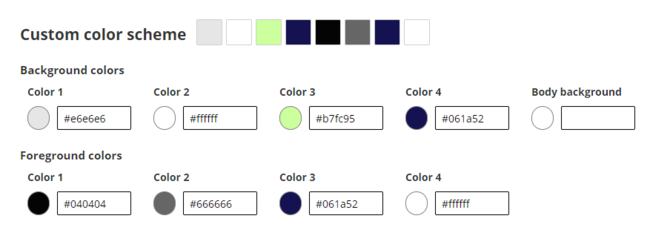
Custom color scheme[edit | edit source]
Starting with a custom color scheme, you can further adjust individual skin colors to match your own color scheme.
To get started, click on the edit icon next to a color scheme. In my example, I want to have text and a neutral background in my navigation, so I pick "sunflower dark" and then edit it. But first, let's look at the color assignments.
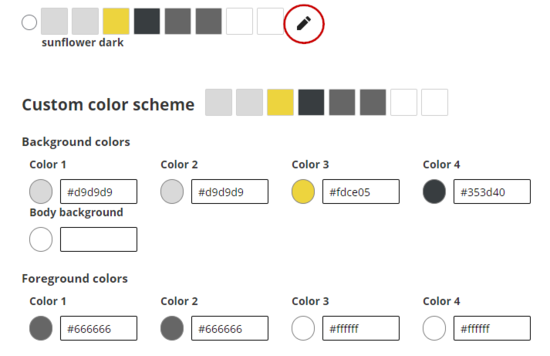
| Background color | Foreground (=text) color | User interface elements |
|---|---|---|
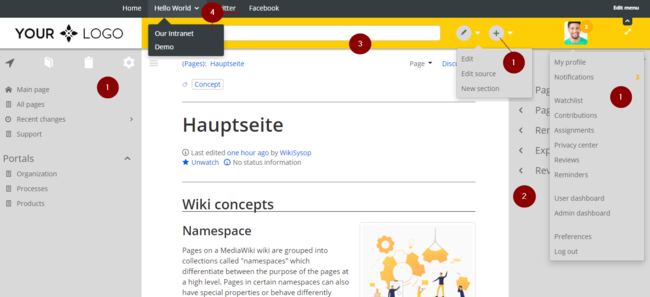
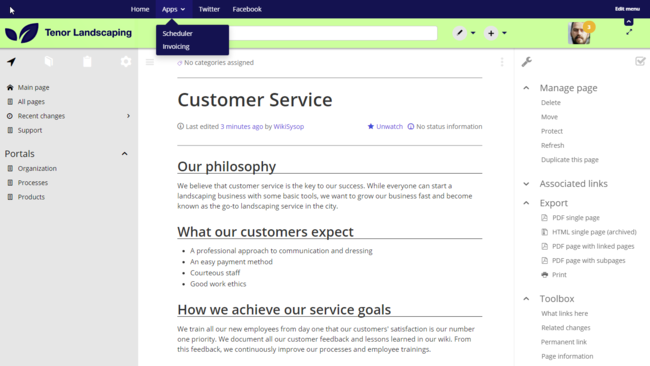
| Color 1 | Color 1 | left navigation, edit and create buttons with drop down menus, user profile menu |
| Color 2 | Color 2 | page tools / quality management tools |
| Color 3 | Color 3 | top bar (since there is no text in the top bar, the foreground color only sets the color of the toggle icons) |
| Color 4 | Color 4 | custom menuwith drop down menus |
| Body background | - | Page background. It is mainly visible when the navigation pane and the tools pane are minimized. |
- As an example, we make some color changes.
-
- This results in the following color scheme:
Content[edit | edit source]
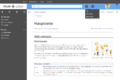
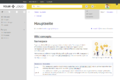
In the content settings, you can adjust styles related to the actual content area (2) of the wiki page:
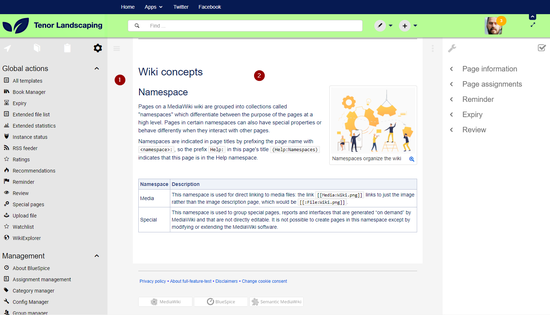
Note: You first have to save the page to view the changes made to the content settings. The preview does not reflect these changes.
Colors[edit | edit source]
| Background color | Foreground (=text) color | User interface elements |
|---|---|---|
| Content background | Page background. It is mainly visible when the navigation pane and the tools pane are minimized. | |
| Content background | Content color | Color of the flowtext of the wiki page. |
| Valid link | Link color that indicates that a linked page exists (standard link). | |
| Broken link | Link color that indicates that the linked page doesn't exist ("redlink") . | |
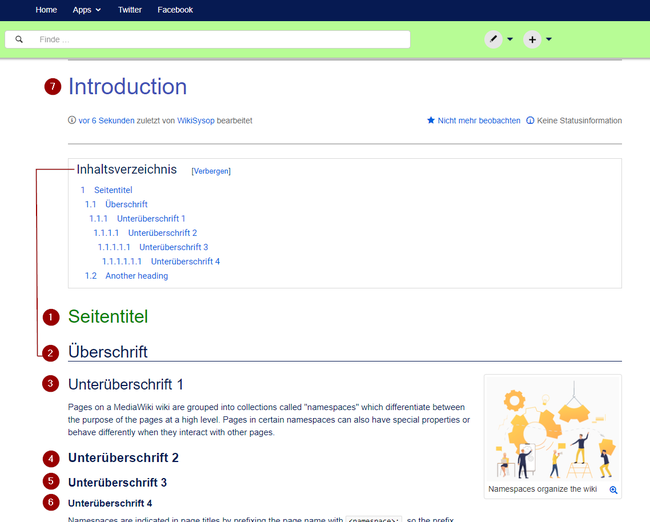
| Header 1-6 |
Color for the individual heading levels.
(1) Header 1: Page title (2) Header 2: Heading, ToC heading (3) Header 3: Sub-heading 1 (4) Header 4: Sub-heading 2 (5) Header 5: Sub-heading 3 (6) Header 6: Sub-heading 4 (7) FirstHeading: Automatically generated page title in the title section (color only adjustable via Free CSS) |
|
| Color 4 | custom menuwith drop down menus |
Font[edit | edit source]
You can also change the font settings for the wiki pages. These settings only apply to the text in the content area. The text in other areas, such as the navigation and the tools panels or the top menus, is not affected.
Layout[edit | edit source]
You can also change the width of the content area, if you want to. Just make sure to test it on many devices to make sure that it works as intended, since wiki users work with different display settings. Unless you have a specific reason to change the content width, there is no need to make adjustments to this setting.
Headings[edit | edit source]
For all heading levels, you can adjust color, font size and underlining of the different heading levels. You can also change the unit type for your font-settings (e.g, px instead of rem). If you are not familiar with the differences between the unit types, simply leave the default setting of rem.
Free CSS[edit | edit source]
For additional adjustments that are not possible with the FlexiSkin settings, you can use the Free CSS field if you are familiar with CSS. We already looked at how you can adjust your logo position with CSS.
Note: You first have to save the page to view the logo changes made in Free Css. The preview does not reflect these changes.
Example1: Change the color of the page title[edit | edit source]
To change the color of the automatically generated page title in the title area, add this code to the Free CSS field: /* color for automatically generated page title in the title section*/
#content #firstHeading {
color: #3f51b5;
}