Difference between revisions of "Setup:Installation Guide/System Preparation/Windows/Node.js"
← Setup:Installation Guide/System Preparation/Windows/Node.js
| [quality revision] | [pending revision] |
Fbaeckmann (talk | contribs) (Tag: 2017 source edit) |
m (Tag: Visual edit) |
Contents
|
|
Node.js is required for the operation of the rendering service "Parsoid" for the Visual Editor. The steps listed here are optional and only required if you plan to use them in your BlueSpice installation. |
Downloading Node.jsDownload[edit | edit source]

|
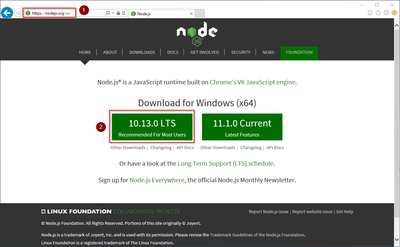
This guide uses the Node.js version 10.13.0 as an example. You can download any 10.x version of Node.js.
BlueSpice is NOT compatible with a Node.js version greater than 10.x! |
In Internet Explorer, open the official website of Node.js (1). Download the latest LTS version 10.x (2).
Follow the further download instructions and download the installation package to your hard drive.
|
|
Please note that the download on your Windows Server with Internet Explorer only works if you have configured the Internet Explorer Advanced Security Settings in the Server Manager. Please refer to the technical documentation from Microsoft. |
|
|
Tis guide uses the Node.js version 10.13.0 as an example. You can download the latest Nodee.js version tat the time of installation. |
Installing Node.js[edit | edit source]
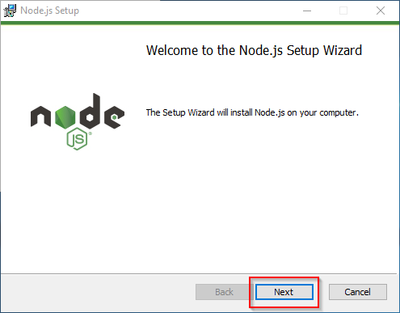
Open the downloaded file "node-v10.13.0-x64.msi".
Start the installation by clicking "Next>":
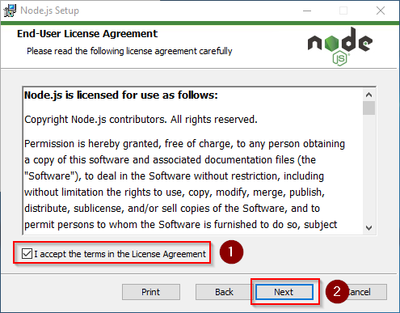
Confirm the license (1) and click "Next >" (2):
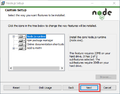
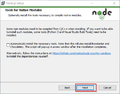
Confirm the further installation steps by clicking "Next >":
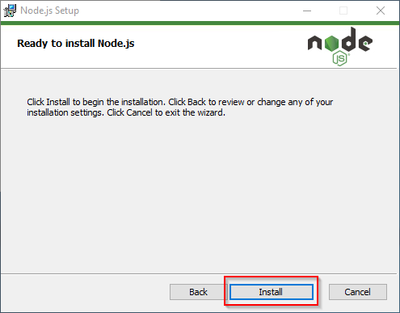
Start the installation by clicking "Install":
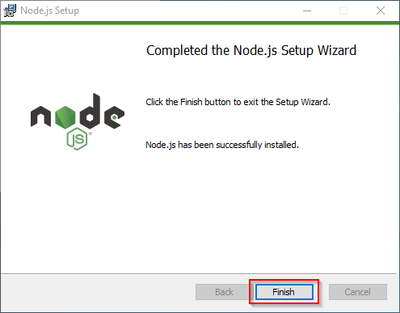
You can close the setup program after finishing the installation:
Adjusting the Installation path of the Node.js packages[edit | edit source]
By default, Node.js installs its packages in the profile directory of the logged-in user. Since Node.js is intended solely to operate as a user-independent server application under BlueSpice, it is strongly recommended that you change the default path for these packages:
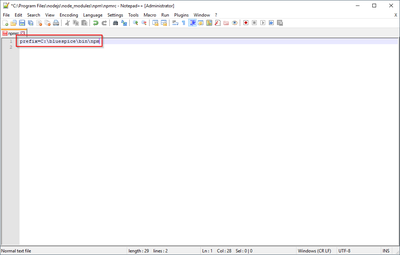
In the Node.js installation folder, open the file node_modules\npm\npmrcin a text editor:

Edit this file and enter the new default path for your Node.js packages:
Save the file and close the editor.
|
|
This documentation is based on the folder structure recommended by us. For this reason, the default path for the Node.js packages is set to the folder C:\bluespice\bin\npm. If you have different requirements, you must adapt these paths accordingly. |
Installing the Windows Build Tools[edit | edit source]
The Node.js package windows-build-tools is required for installing the relevant BlueSpice applications.
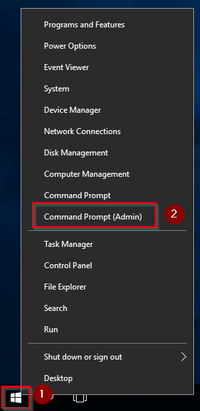
To install, first open the Windows command prompt as administrator. To do this, right-click "Start" (1) and select "Command Prompt (Administrator)" (2):
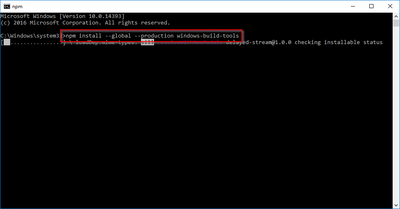
Execute the command "npm install --global --production --vs2015 windows-build-tools":
|
|
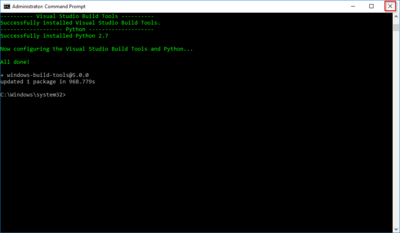
This command may take a long time and not show any activity for a long time. However, it is still active and must not be canceled! Additionally, Windows Server may restart during the process without warning. In this case, restart the installation as described above. |
After successful installation, you can close the command prompt:
Next step[edit | edit source]
If you have completed all steps successfully, you can delete the previously downloaded file "node-v10.13.0-x64.msi" from your hard disk and continue to the next step " Parsoid".