Activation and deactivation of BlueSpice-extensions
-
- Last edited 6 years ago by Florian Bäckmann
-
-
- This page is approved but has a draft version
Contents
In some cases you could need the possibility to activate or deactivate single extensions of BlueSpice. This document will show you how to do this.
Tips for this Document
- Please, read this manual completely and work through the single installation steps one after another.
- For editing the configuration files with a text editor, the files must be saved in UTF-8 coding without BOM (Byte Order Mark).
- The placeholder
<installpath-bluespice>stands for the path to your BlueSpice installation, e.gC:\inetpub\wwwroot\bluespice(Windows) or/var/www/bluespice(Linux).
Create a configuration file which will be not overriten while you update BlueSpice
All BlueSpice-extensions are configured in the file <installpath-bluespice>/extensions/BlueSpiceExtensions/BlueSpiceExtensions.default.php by default. You should not use this file to configure these extensions because it will by overwritten while you update BlueSpice.
Copy this file to <installpath-bluespice>/extensions/BlueSpiceExtensions/BlueSpiceExtensions.local.php and do all changes in this file.
Deactivation of extensions
Search the relevant extension in <installpath-bluespice>/extensions/BlueSpiceExtensions/BlueSpiceExtensions.local.php.
Uncomment the line which includes the extension by typing "//" at the beginning of the line.
Activation of extensions
If you which to activate extensions which are deactivated please search the relevant extension in <installpath-bluespice>/extensions/BlueSpiceExtensions/BlueSpiceExtensions.local.php.
Remove the commentation at the beginning of the line ('#' or '//').
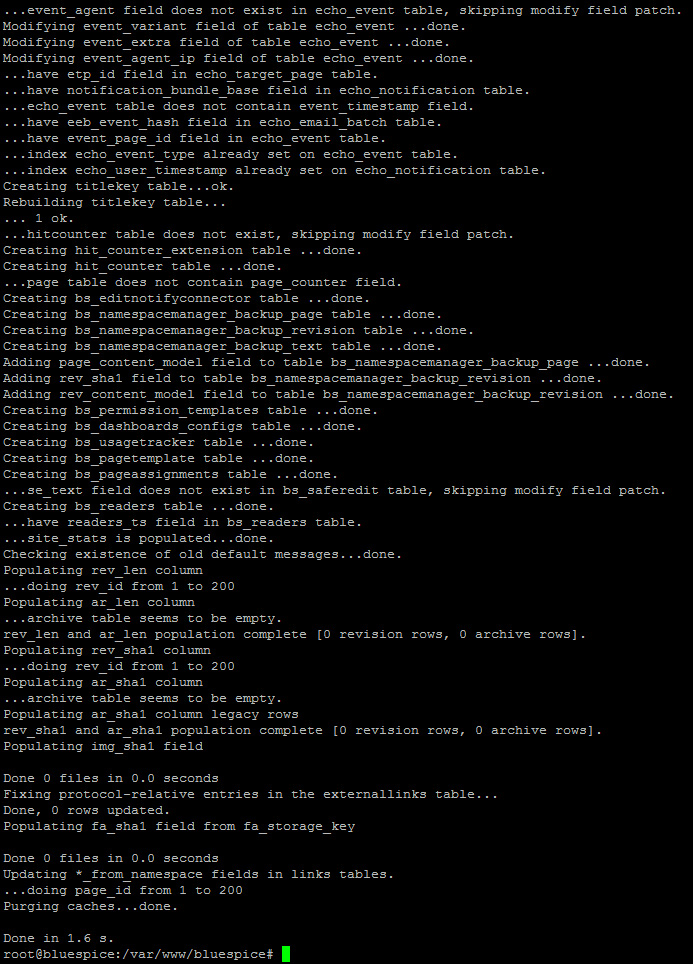
After that open a command line and switch to the folder <installpath-bluespice>. Execute the follwoing command:
php maintenance/update.php (Linux)
php maintenance\update.php (Windows))
When the script is finished with the "Done" message, proceed to the next step.


