Difference between revisions of "Setup:Installation Guide/System Preparation/Windows/IIS Web Server"
← Setup:Installation Guide/System Preparation/Windows/IIS Web Server
| [unchecked revision] | [unchecked revision] |
m (Tag: Visual edit) |
m (Tag: Visual edit) |
Contents
|
|
The web server delivers your BlueSpice installation to the users' browsers. Without a web server, BlueSpice cannot be used. The steps listed here are required. |
Introduction[edit | edit source]
We recommend to use the most system-optimized software possible for a live operation of BlueSpice both under Linux and under Windows. For this reason, the documentation of an installation of Apache (XAMP) under Windows is omitted. This chapter lists the steps that are necessary to install the Microsoft IIS Web Server service on Windows Server >= 2012.
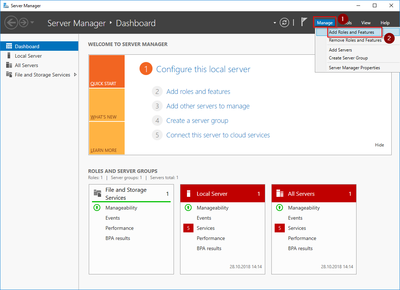
Open the Server Manager and manage roles[edit | edit source]
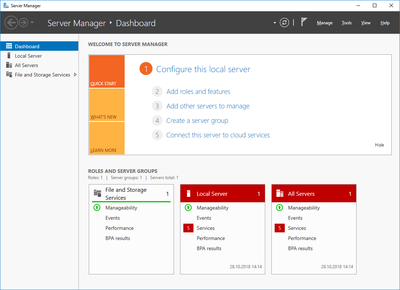
First, open the Server Manager. Unless otherwise configured, it starts automatically as soon as you log in to the server. Otherwise, you will find it in the start menu under the search term "Server Manager". You are now in the following view:
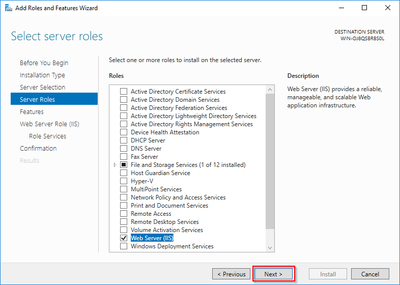
Installing IIS in the Role Manager[edit | edit source]
You are now in the Role Manager.
Click "Next>" until you reach the "Server Roles" area (1). There, you activate the role "Web Server (IIS)" (2):


|
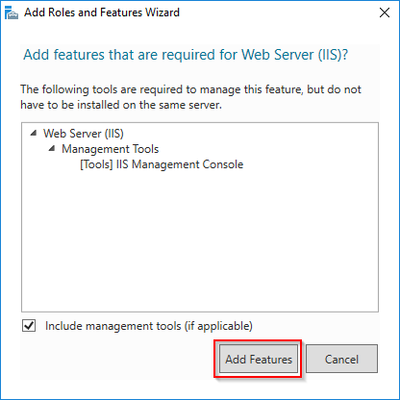
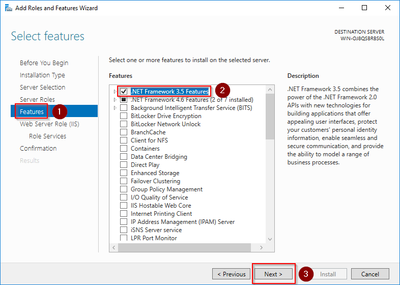
The .NET Framework 3.5 is not directly required for running IIS. However, tools that will be installed later, which are also partially connected with IIS, definitely require it. For this reason, we install it now. |
|
|
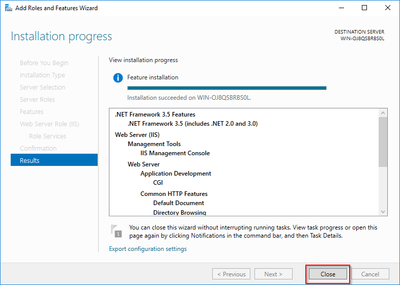
If the installation terminates with a problem, this is usually caused by the .NET Framework 3.5 in combination with a WSUS server in your domain. The easiest solution for this is to remove the server from the domain, repeat all of the above steps, and then re-adding the server to the domain. |
Next step[edit | edit source]
When you have successfully completed all the above steps, go to the next step "Visual C++ Redistributable for Visual Studio 2015".