Difference between revisions of "Setup:Installation Guide/System Preparation/Windows/MariaDB"
← Setup:Installation Guide/System Preparation/Windows/MariaDB
Templates/files updated (unreviewed pages in bold): File:Setup:mariadb s1.png, File:Setup:mariadb s2.png, File:Setup:mariadb s3.png, File:Setup:mariadb s4.png, File:Setup:mariadb s5.png, File:Setup:mariadb s6.png, File:Setup:mariadb s7.png, File:Setup:mariadb s8.png, File:Setup:mariadb s10.png, File:Setup:mariadb 10.6.png
| [quality revision] | [pending revision] |
(Tag: Visual edit) |
(Tag: Visual edit) |
Contents
|
|
BlueSpice stores your content in a database for which you need to install a corresponding server. The steps listed here are required. |
Introduction[edit | edit source]
Alternatively, you can use MySQL at this point, but we recommend the database server MariaDB as described below.
Download[edit | edit source]
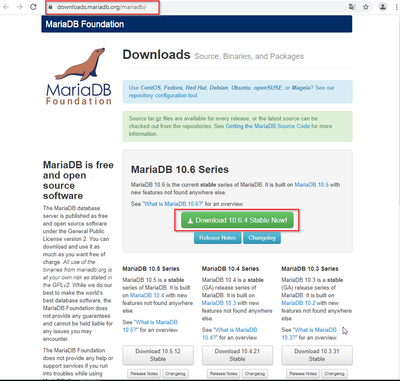
In Internet Explorer, open the official download page (1). Click on the corresponding download link (2).
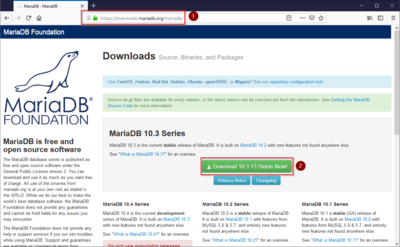
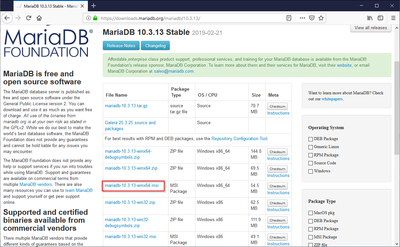
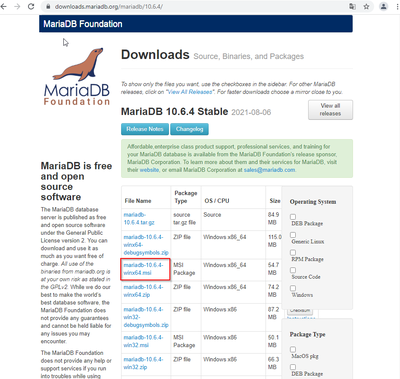
Select the MSI package in the 64bit version:
Follow the further download instructions and download the installation package to your hard disk.

|
Please note that the download on your Windows Server with Internet Explorer only works if you have configured the Internet Explorer Advanced Security Settings in the Server Manager. Please refer to the technical documentation from Microsoft. |
|
|
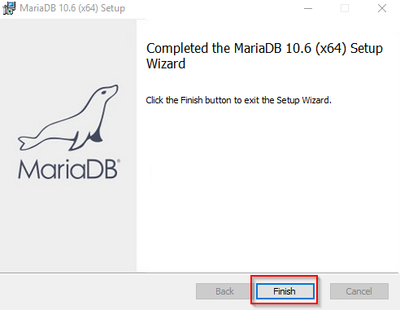
In the following the MariaDB version 10.3.13 is used and serves as an example only for the latest version, which you can download at the time of your installation. |
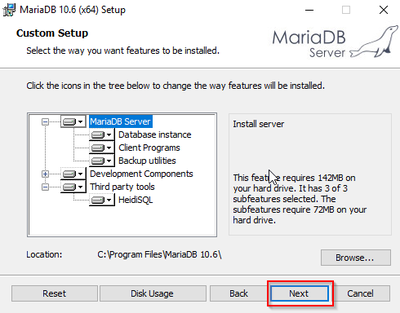
Installing MariaDB[edit | edit source]
Open the file that you just downloaded: "mariadb-10.3.13-winx64.msi".
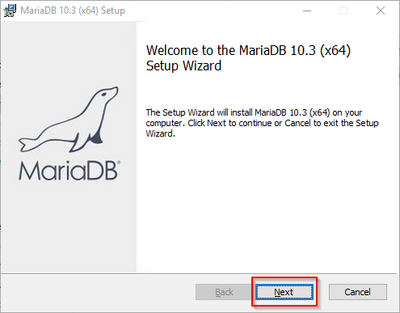
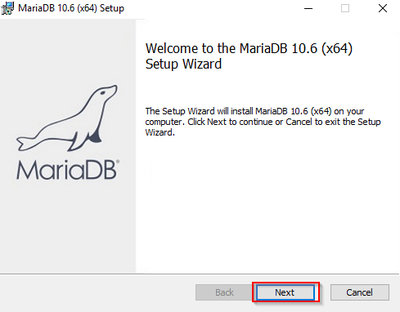
Start the installation by clicking "Next":
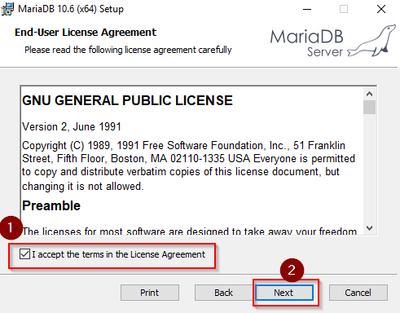
Confirm the license agreement (1) and click "Next" (2):

The next step you confirm by clicking on "Next".
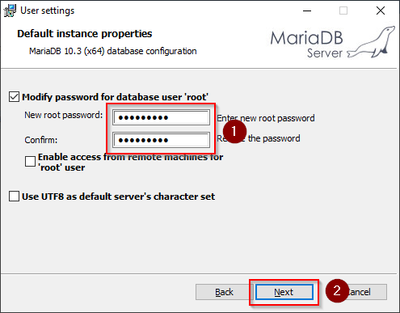
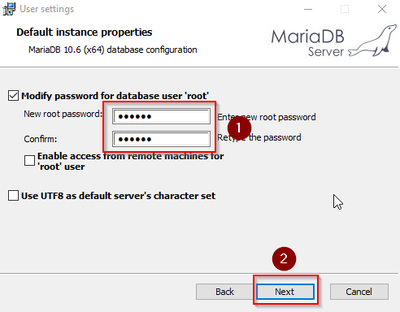
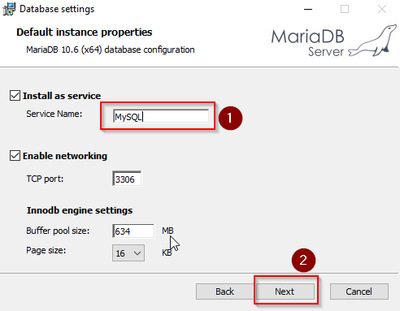
Provide a password. It will be used for the administrative user ("root") of the database server (1). Then, click "Next" (2):
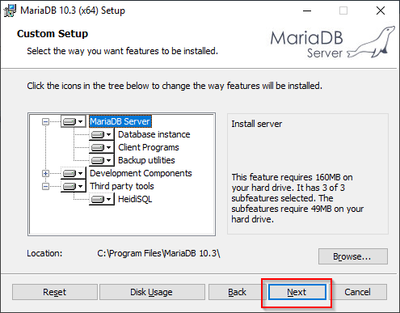
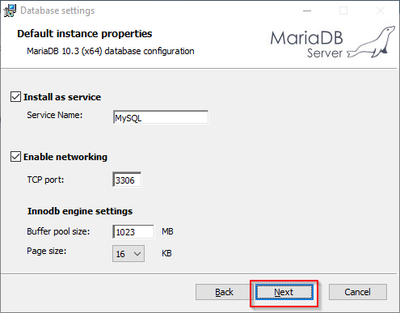
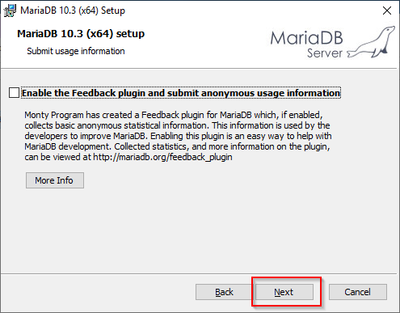
Confirm the next step by clicking "Next":
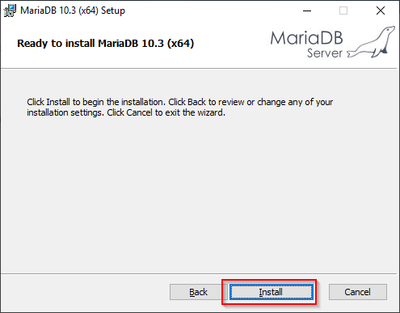
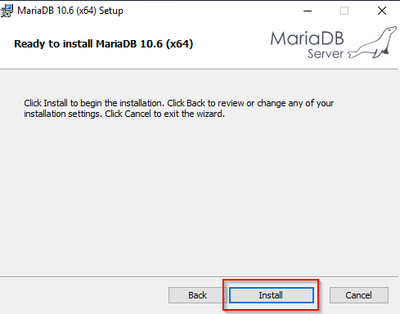
Confirm the next step by clicking "Next"↵Now start the installation:
Now start the installation:
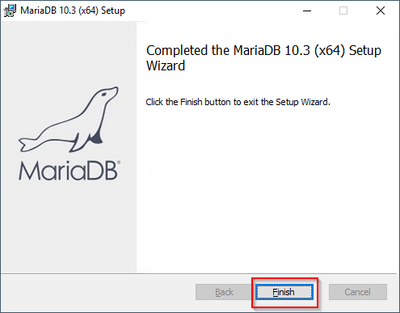
When the installation is complete, exit the installer:
Setting the environment variable[edit | edit source]
To use MariaDB easily on the command line of Windows, it is necessary to configure an environment variable in Windows accordingly. To do this, perform the following steps:
Enter the key combination Windows + R.
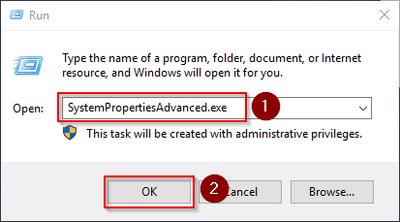
In the following dialog, enter "SystemPropertiesAdvanced.exe" (1) and confirm with OK (2):
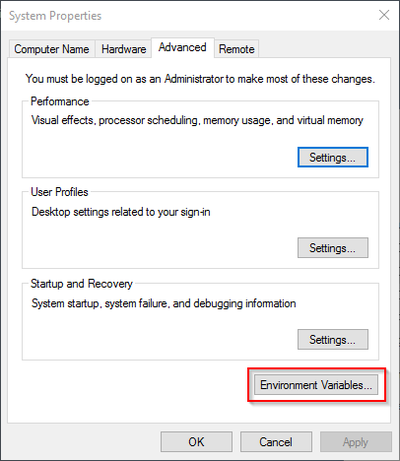
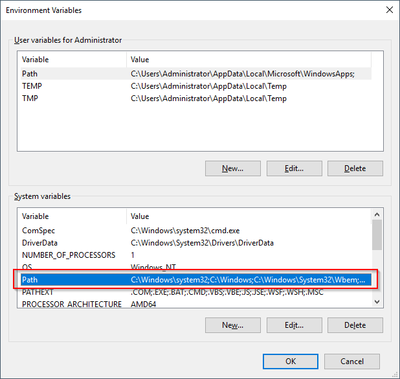
Click "Environment Variables":
In the bottom pane of the now opened window double-click on the line "Path":
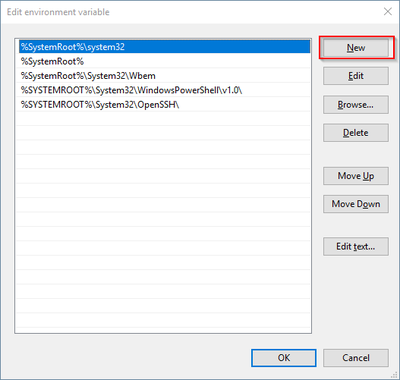
Click "New":
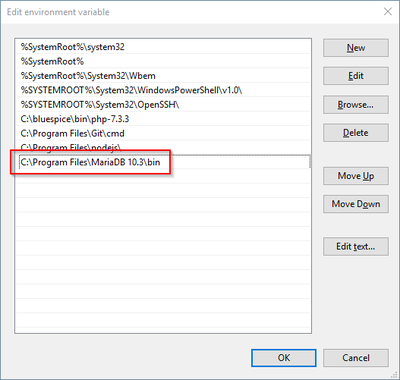
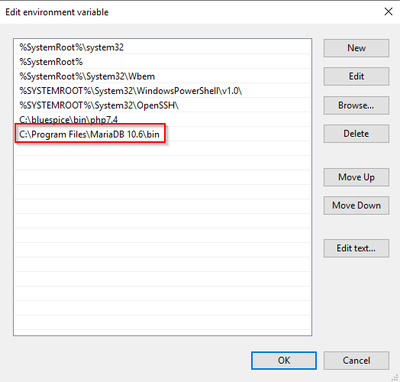
Add the path to your installation of MariaDB, which contains i.a. the file mysql.exe is located. By default, this is the path C:\Program Files\MariaDB 10.36\bin .
Close all previously opened windows one after the other by clicking "OK".
Next step[edit | edit source]
If you have completed all steps successfully, you can delete the previously downloaded "mariadb-10.36.134-winx64.msi" file from your hard disk and continue to the next step "OpenJDK".