Attachments
-
- Last edited 4 years ago by MLR
-
-
- This page is approved
The extension SocialWikiPage allows users to attach a file directly to a wiki page.
Contents
Characteristics of file attachments
- The attachment process simply creates an association between a file in your wiki and the page to which it is attached.
- File attachments don't show up in the version history of a page.
- Clicking on an attachment, for example a PDF file, opens the file directly (if possible). If the file type is docx or xlsx, the file is downloaded since it cannot be opened in the browser.
- Administrators can still see attachments that have been deleted from a page. These attachments are marked with a red background and can be reactivated if needed.
- The Timeline can list all attachments in the wiki.
Attaching a file
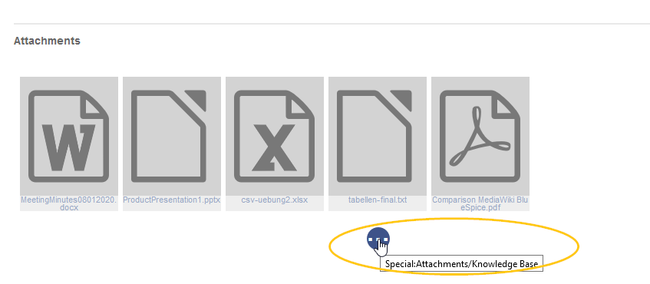
To create the first attachment at the bottom of a wiki page, open the attachments area by clicking on the "plus" button.
If the attachments area already exists, click the "more"-button to switch to the attachments page.
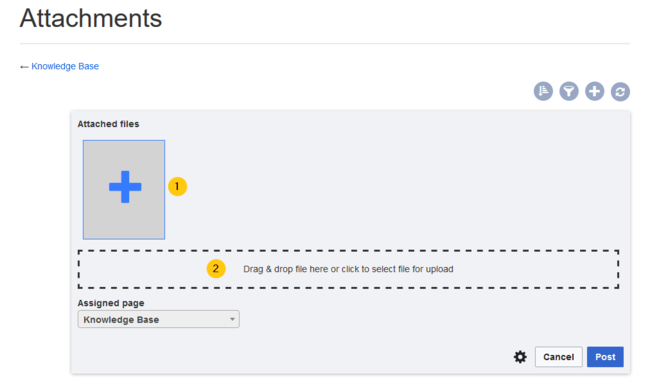
On the attachments page you can add a new attachment:
(1) Add existing file: Click the plus button to add a file that has already been uploaded to the wiki.
(2) Upload a new attachment: Click the upload area or drag the file into the upload field to upload a new attachment to the wiki.
Deleting an attachment
To delete an attachment, go to the attachments page and click on the Delete button in the actions menu of the attachment.
Deleting an attachment on a page does not delete the file itself from the wiki.
Grouped attachments
Clicking the Edit button in the actions menu of an attachment allows you to group more attachments with it. When you group attachments, they are:
- displayed together on the page
- deleted together from the page
- considered one entity for commenting, recommending, linking, and watching (as social entity)
Styling
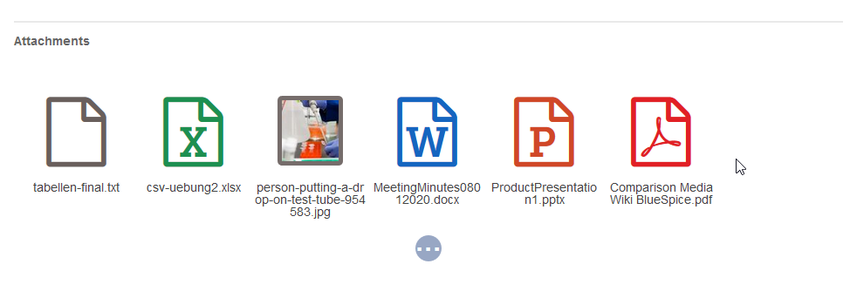
By default, the icons for the attachments are shown in grey with a small label and a large icon. By updating the file MediaWiki:Common.css, the styles for the attachments can be adjusted as needed. This requires administrator rights.
Add the following styles:
/* Anhänge */
.bs-social-entity-attachment-wrapper {background: transparent;}
.bs-social-entity-content-attachments div.bs-social-entity-attachment-file a span::before {line-height: inherit;font-size: 80px;  color: #695f5c;}
.bs-social-entity-content-attachments div.bs-social-entityattachment-unknown a span::before  {font-family:fontawesome; content:"\f016"; color: #695f5c;}
.bs-social-entity-content-attachments div.bs-social-entityattachment-pdf a span::before  {font-family:fontawesome; content:"\f1c1"; color: #e12025;}
.bs-social-entity-content-attachments div.bs-social-entityattachment-excel a span::before {font-family:fontawesome; content:"\f1c3"; color:#1d8f50;}
.bs-social-entity-content-attachments div.bs-social-entityattachment-pptx a span::before {font-family:fontawesome; content:"\f1c4"; color:#d04727;}
.bs-social-entity-content-attachments div.bs-social-entityattachment-word a span::before {font-family:fontawesome; content:"\f1c2"; color:#1565c0;}
.bs-social-entity-attachment-wrapper p.attachment-name, .bs-social-entity-content-attachments div a p, .bs-social-entity-content-attachments div span p {font-size:100% !important; word-break:break-word;}
.bs-social-entity-content-attachments div, .bs-social-entity-content-attachments div a, .bs-social-entity-content-attachments div span {color: #444 !important; background-color: #ffffff;}
.bs-social-entity-attachment-wrapper img {  border: 5px solid #766d6b;}
.bs-social-entity-content-attachments div a img, .bs-social-entity-content-attachments div span img {height: 80px;  width: 75px;margin-top: 16px;margin-bottom: 18px; border-radius: 5px;}
.bs-social-entity-content-attachments div a p, .bs-social-entity-content-attachments div span p { height:4em}
You will get:


