Drawio
-
- Last edited 5 years ago by MLR
-
-
- No status information
Summary
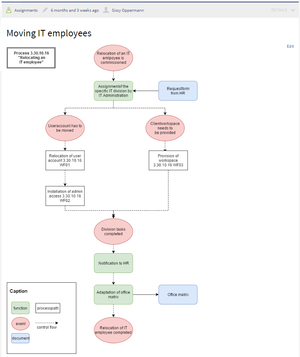
Draw.io offers extensive drawing possibilities for process flowcharts, infographics and other visualizations on a wiki page. Descriptive graphics like process chains or decision trees can be constructed directly on a wiki page.
Creating a drawing
To insert a drawing with VisualEditor:
- Create or choose a page where you want to insert a drawing.
- Select Insert > Magic word from the editor toolbar.
- Choose drawio from the list of magic words.
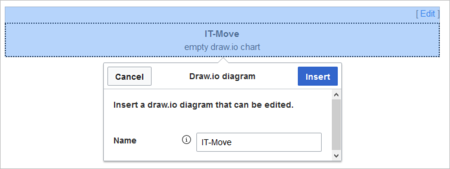
- Click Done. This opens a dialog box. Enter a name for your drawing.
- Click Insert. This inserts the following tag in your source code
{{#drawio:Name_of_the_flowchart}} - Save the page.
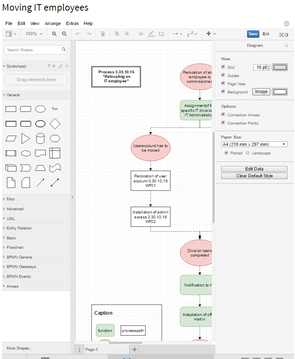
- Click Edit to open the draw.io editor. For the best editing experience, set your wiki into full-screen mode using the toggle button in the main toolbar:
- In draw.io, click Save to save your drawing.
- In draw.io, click Exit to close the draw.io editor.
Using draw.io with image maps
Draw.io creates a versioned png-file in the File namespace. This means that every change of the flowchart that was concluded by Save will create a new, updated version of this png-file. You can now integrate this file on another page in your wiki or create an image map.
Please note: unfortunately it is not possible to use ImageMapEdit directly with the DrawIO tag in an article, so you will have to create separate pages for this.
Related info
UserManual:En: UserManual:De:Handbuch:Erweiterung/DrawioEditor


